How to Win the New DLC Operations in ‘Battlefield 1’
In these close quarters engagements, you’ll have to change up your strategies.

Originally introduced when Battlefield 1 launched last October, Operations was one of the new game modes DICE brought to the table to help complement the game’s World War I setting. It blends elements of both Rush and Conquest into one experience. Built to accurately represent some of the largest conflicts from the Great War in Battlefield 1’s competitive multiplayer, each Operation puts players on the attacking or defending team where they must work to control sectors scattered across the map. If the attackers manage to secure them all on a single map, the match immediately moves to another map while fleshing out the historical significance of the conflict with dialogue and cutscenes in-between. Honestly, it’s one of Battlefield 1’s best modes, but it’s one which has started to get more repetitive with time due to a lack of new maps to experience. Thanks to Battlefield 1’s new DLC They Shall Not Pass, that’s changed. The two new Operations focus heavily on close quarters engagements.
Both Beyond the Marne and Devil’s Anvil pit the French Republic against the German Empire, but unlike the other Operations available in Battlefield 1, feature a much greater emphasis on close quarters combat due to the various trench lines and sprawling corridors each of the new maps is centered on. It’s certainly a big change, but a welcome one which forces players to reconsider their strategy when playing the new Operations available in They Shall Not Pass.
But if you’re having a difficult time pushing or holding the line, here are a few tips worth considering:
Use Explosives
Regardless of your situation while playing the two new Operations, always come equipped with some of Battlefield 1’s best explosives if you want to clear the enemy out. Every single map included in They Shall Not Pass is filled with trenches, bunkers, and heavily fortified positions which the enemy team can pack themselves into while defending or assaulting a sector. That means you won’t be able to clear them out with concentrated fire in their general direction without getting killed yourself. Even though some of the heavy explosives like the Assault’s dynamite or the Support’s crossbow launcher don’t work too well in open areas, they can wreak havoc on enemies in They Shall Not Pass if used to clear out areas.
Flank Enemy Positions
In many cases while playing on the attacking team, especially on maps completely covered in trenches and tight corridors like Fort De Vaux, the defending team is going to completely lock you out of a specific area of the map with hails of gunfire or an endless wall of grenades. While these specific chokeholds around the map are frustrating and seemingly impossible to break through at first, there’s a simple answer to gaining ground against the defending team: flanking. Once you have died a few times trying to push through an enemy line, it’s best to look for a flanking route around their position and hit them from an angle they don’t have covered with all their firepower. It may seem impossible at first, but DICE clearly kept the ability to flank in mind when designing the maps of They Shall Not Pass because of the numerous paths to the objectives the team built into each map.
Learn to Love Shotguns
No matter how you feel about the Model 10-A Hunter in Battlefield 1, you’ll want to spend some time practicing with the shotguns available to the Assault class if you want to help your team push through offensive pushes or defensive fortifications in the two new Operations added in They Shall Not Pass. Weapons like the Model 10-A and M97 Trench Gun are absolute powerhouses in the new close-quarters environments scattered about each of the new maps introduced with the DLC. You’ll often be able to hold down a point by yourself provided you keep out of enemy mortar fire and pick a hiding position, picking off enemies as they dive into the trenches in front of you. If enemies are a little too far out of range, find a way to flank around and get in close or use your explosives to do some damage from over the hill. Just remember to always stay on the move by shifting corners on an objective or flanking behind enemy positions, otherwise, the enemy team will be able to pinpoint your location and take you down with ease.
Use the Elite Classes
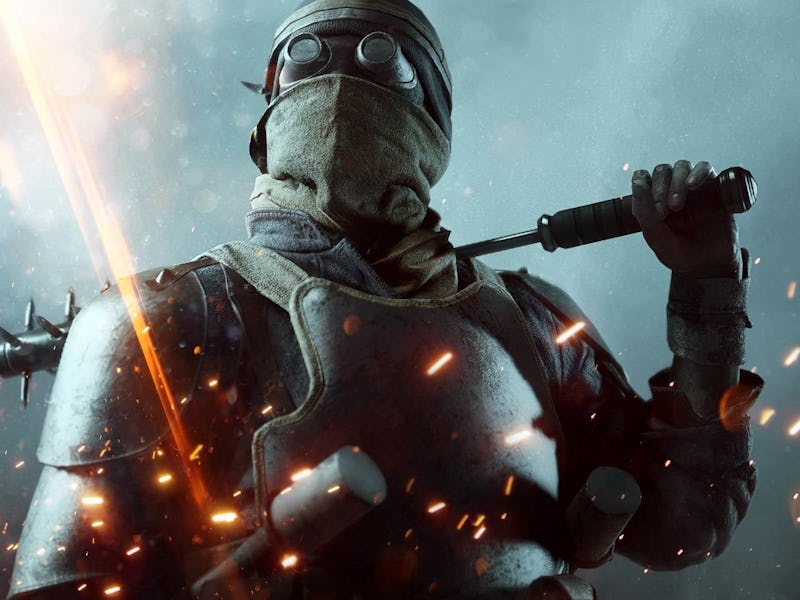
In Beyond the Marne you’ll have access to the new tank behemoth called the Char 2C as a backup whenever your team isn’t performing well on the battlefield or cannot push past enemy fortifications on their own. As you might expect, it operates like a traditional behemoth and can be utilized to push specific positions your team is having trouble with, but it’s swapped out for a new type of battlefield reinforcement on the close quarters Operation Devil’s Anvil: Elite Classes. Whenever you need a helping hand on Devil’s Anvil, your team will be reinforced with a few Elite Class kits including the brand-new Trench Raider which can be used to tear through enemy fortifications like trenches and bunkers. Instead of rushing ahead and wasting one of your Elite Class kits, hang back and work with your teammates to push into sectors or hold back incoming infantry at key defensive points. Don’t forget, they only spawn once, so use them wisely.