Reviews
How I hacked my PlayStation Classic into the console Sony wouldn't give us
With Project Eris, you can transform Sony’s miniature flop into the console it should have been with better PS1 games and even support for retro Nintendo and Sega titles.
In December 2018, Sony caved into the mini retro console craze with the PlayStation Classic. It was Sony’s answer to Nintendo’s smash hit, the NES Classic, released two years earlier.
Gamers like myself were beyond excited to replay classic PS1 games, but instead of a greatest hits throwback, the PlayStation Classic arrived with a lackluster library of 20 games (no Crash, no Spyro, no Tony Hawk – the list goes on) and — get this — they ran with subpar emulation at a lower frame rate. It was an epic facepalm.
Within a few weeks, PlayStation Classics were discounted by as much as half, with heaps of them literally in bargain bins. But like so much unloved tech, modders and hackers have come in clutch, rescuing Sony’s dud and transforming it into one of the best mini retro consoles you can buy in my opinion. With the simple Project Eris hack (formerly BleemSync) from the Mod My Classic team, not only can you add more PS1 games (like the ones it should have come with), but it’s powerful enough to run Nintendo 64 and Dreamcast games, too. (We don’t condone piracy and when we refer to adding more games, we’re talking about legally adding them to the extent that the law allows for it wherever you live.) The Eris hack can also fix those games running at a lower frame rate.
Though it’s possible to hack other mini retro consoles, you really don’t need to modify them because they already have a solid library of gems. The PlayStation Classic? Hacking it is the only way to salvage it from being a useless paperweight.
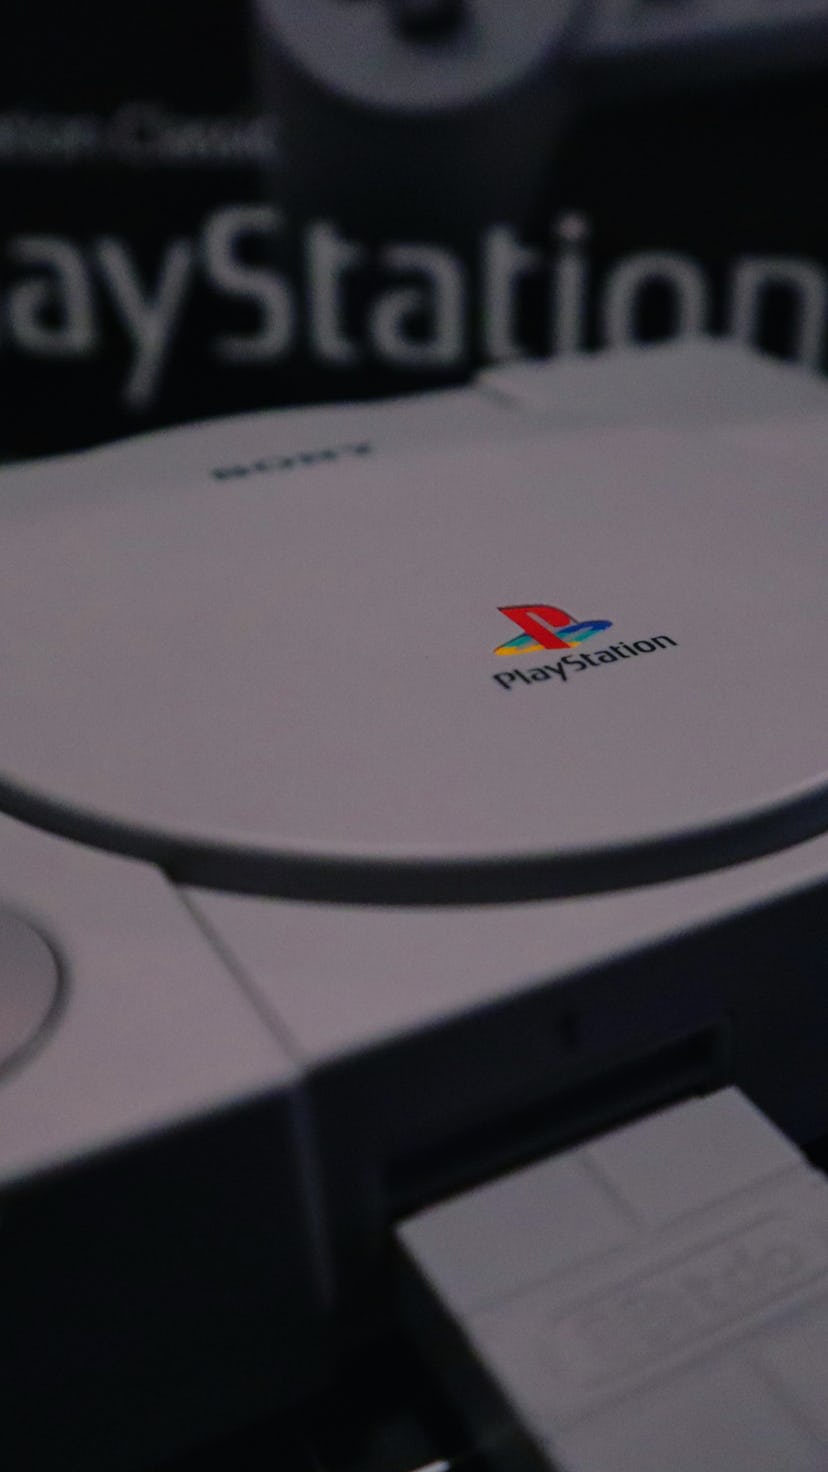
What Sony got right

For all the complaints about the PlayStation Classic and its failure to live up to hype, Sony got a few things right. The original gray box was faithfully miniaturized and the two included analog stick-free controllers felt identical to the original, right down to the sturdy cables. Sony cleverly solved how to play games that originally shipped on multiple discs by using the “Open” button to simulate changing the discs, making games like Final Fantasy VII playable, and save states let you resume playing games right where you left them.
But on the whole, mistakes were made.
Bad decisions

I could go on for days about what Sony could have done better. Controllers with analog sticks would have been nice for playing 3D games (the D-pad just doesn’t cut it), especially since the PlayStation Classic cost $100 at launch. Or how about the option to use other controllers? Or the fact that the console doesn’t come with a power adapter?
The mediocre library and choppy frame rates hurt the most.
At first, Sony announced five games as a teaser, and they were good games, for the most part: Final Fantasy VII, Ridge Racer Type 4, Tekken 3, Wild Arms, and Jumping Flash. These titles gave gamers a false sense of optimism, believing that the full library would consist of more bangers. While Metal Gear Solid, Resident Evil, Grand Theft Auto, and Oddworld: Abe’s World helped round out the library, noticeably missing were console-defining franchises like Spyro, Crash Bandicoot, and Gran Turismo.
It’s mind-boggling how Sony licensed Resident Evil: Director’s Cut from Capcom and not Street Fighter Alpha 3. Or how Sony didn’t bag Castlevania: Symphony of the Night, arguably the greatest 2D sidescroller of all time, when it managed to license Metal Gear Solid from Konami. Also, no Tony Hawk’s Pro Skater or its sequel. What the heck?
To make matters worse, several of the included games included — nine to be exact — are the inferior PAL (read: European), versions that run at 50 frames per second (fps) instead of the buttery-smooth 60 fps of the NTSC (North American) region. Out of the few good games I listed above, four of them are the PAL versions. Most people may not even notice the difference in frame rate, but spend any amount of time playing the games and you will realize fluidity matters and Sony including the inferior versions made no sense.
As always, the fix for bad products has come from the hacker community.
The fix: Project Eris

As always, the fix for bad products has come from the hacker community. Hackers cracked the console within a week of the mini console’s release. Project Eris, an all-in-one software solution, created and maintained by the Mod My Classic team, is now considered the best hack and unlocks the true power of the PlayStation Classic.
I followed the steps to install Project Eris on my PlayStation Classic using Mod My Classic’s instructions here; the whole project took an hour, though that might be longer if you’re less experienced with tinkering. The project requires two inexpensive components that are easy to find online.
This isn’t a tutorial so I won’t go over every step, but I do want to share some of my findings. For example, you need a USB to transfer the initial data file, but not all flash drives are equal because some don’t have enough power throughput. After scouring Reddit, I found this SanDisk Cruzer Glide 2.0 USB Flash Drive works fine. I also got an OTG cable, which connects to the back of the console. An OTG cable frees up the frontside USB ports and can power a faster flash drive. I stuck with the cheap Cruzer Glide 2.0, which has not given me issues. Though not necessary, I recommend getting 8bitdo’s PlayStation Classic wireless adapter to connect wireless controllers like the PS4’S DualShock 4 gamepad. The adapter pairs almost instantly and adds joystick functionality with no additional setup.

One thing you can do right away with Project Eris before installing new games is fix the frame rate of 50 fps PAL games. After opening any PS1 game from the carousel, hit the Select button and the Triangle button at the same time. This opens up the secret emulator menu. From there, select PCSX Menu then Options. Select the Region setting and use the D-pad to move from Auto to NTSC. An option to see the framerate can also be toggled on. Exit the menu and witness the 60 fps glory yourself. (You will have to do this every time, unfortunately.) It’s not ideal, but jankiness comes with console modding territory. A more permanent fix would require downloading the NTSC versions, which run at 60 fps natively.
With Project Eris successfully installed, the final step is to install games. Input doesn’t condone piracy; it’s illegal to download ROMs for games you don’t legally own. And even if you do own copies of games, the legality of downloading ROM copies for them is pretty gray. As such, I can’t tell you where to get ROMs and I’m not responsible if people in black suits come knocking on your door. But, ahem, it isn’t hard for enterprising minds to type a few choice keywords into a search engine. Again, you do so at your own risk.
Now that the disclosure is out of the way, adding PS1 games is very simple on Project Eris. These instructions break down the process, but it’s as easy as this: plug the USB into the computer, drop in the games into the folder named “transfer.” That’s it. When booting up the console again, Project Eris grabs the games from the “transfer” folder and installs them on the console, including game art and metadata — game art and metadata for over 9,000 games are stored within the Project Eris files. It’s possible to transfer multi-disc games, too, and Project Eris accepts .BIN, .IMG, .ISO, .PBP, and .CUE files.
The games with their cover art fit right into the PlayStation Classic’s carousel menu screen, and they play just like any of the other games that come with the console. I had a hell of a time playing Crash Team Racing and Castlevania: SOTN and THPS 2. Project Eris also lets you change the look of the menu; I themed mine to look like the 20th-anniversary theme for the PS4.
For most people, the ability to add PS1 games and change the theme is enough, but there’s more you can do with Project Eris to elevate it further.
RetroArch and Emulation Station

Besides support for more PS1 games, Project Eris comes with two killer pieces of software: RetroArch and Emulation Station. RetroArch is an open-source platform for emulation, using cores to emulate different game consoles. The PlayStation Classic isn’t powerful enough to emulate a Switch, but it can emulate Nintendo 64 and Dreamcast games — to a certain extent and results will vary per title.
Emulation Station is a graphical user interface that runs on top of RetroArch. It’s basically RetroArch with a nice coat of paint and streamlined UI/UX. Those familiar with the RetroPie software for Raspberry Pi computers will recognize Emulation Station as the main interface. Generally, I prefer using Emulation Station because it looks nicer and there are tons of great themes available to download.

In my emulation testing, I got Super Mario 64 running at a frame rate of 30 fps with the “Mupen64 Plus” core. Admittedly, it didn’t look great because of anti-aliasing and texture rendering issues, but it was playable. Hey, graphics aren’t everything, right? Dreamcast emulation is a different beast and not one I recommend tangling with often. It took me the better part of three hours to get SNK vs. Capcom: Match of the Millenium working. For some reason, the Dreamcast emulator on the Project Eris site aka “Flycast” core did not work with any games I tried. I dug around and found that the emulator requires two BIOS files that need to be placed in a specific folder (BIOS and ROM files are treated the same in the eyes of the law.) That also didn’t work, though. Long story short, I ended up downloading a different emulator core from Github, which did work but only with one game.
Match of the Millennium looked fine, but the game’s frame rate would jump around quite a bit from 50 fps to 20 fps. I typically got around 30 fps, which is not good for a fighting game (60 fps is ideal so there’s no input lag), but the Dreamcast game did technically work. I had fun playing a few matches solo, but the novelty wore off quickly due to the choppy frame rate. Less-than-perfect emulation is pretty common when it comes to emulation; performance varies by game so you will see different results that may run better or worse.

I had no issues with Genesis, SNES, Game Boy Advance, and Neo Geo Pocket games, however, which also happened to work perfectly with the PlayStation Classic’s controllers. When playing Streets of Rage 2 using the “Picodrive” core, I managed to connect my Sega Astro City Mini pad after manually setting the inputs in RetroArch.
I did run across one major issue that was not addressed in the steps regarding Emulation Station. Typically, when playing a non-PS1 game, I would have to manually load the core and game from RetroArch. It’s a somewhat tedious process. Emulation Station, though, automatically loads the default core whenever a game is selected, streamlining the experience. The default cores, however, are only specified in the Emulation Station configuration file (located in USB/project_eris/opt/emulationstation/.emulationstation/systems.cfg) and are not included with Project Eris — they must be downloaded from here (these are legal unlike any games you don’t own!) and placed in this specific folder: (USB/project_eris/opt/retroarch/config/retroarch/cores/). That’s why when I opened NBA Jam from the Genesis tab of Emulation Station, I was met with a black screen.
I fixed it by accessing the configuration file with Notepad on Windows (or any text editor on another OS) and changing the defaults to the cores I wanted instead. “Genesis_Plus_GX.libtretro.so” became “Picrodrive.libretro.so” and so on. It was an easy fix once I figured out the issue thanks to this Reddit post, but I wish it had been mentioned somewhere on the Project Eris site.
I probably spent more time troubleshooting than playing, but only because there are so many things you can do to beef up the PlayStation Classic. I know these mini retro consoles were supposed to be cute plug-and-play devices — and they can be — but they can be so much more with a bit of patience. If you have time and interest, the world of mini console hacking is vast and chances are someone has an answer to whatever problems you run into.
Proper Classic

Sony dropped the ball with the PlayStation Classic. Hard. Charging $100 for a barebones console with a wack library is the kind of corporate hubris that comes from dominating the last generation with the PS4. Unhacked, the PlayStation Classic is a piece of plastic junk I wouldn’t even gift to anyone. But thanks to Project Eris, it’s been reborn as my dream mini-console for playing retro games, and it can be yours too if you put in a little effort to hack it.
Thanks to Project Eris, it’s been reborn as my dream mini-console.
Easily found for around $60-70 on Amazon or used for under $50 on eBay, the PlayStation Classic is a respectable little toy at last. Yes, you need to tinker, and yes, you will likely run into some issues, but it’s all worth it when you’re kicking back and playing those sweet, sweet games from the ‘80s and ‘90s. Sony isn’t going to approve of hacking the PlayStation Classic, but who cares? It’s mine now and I’ll do what I want to give it new life.
